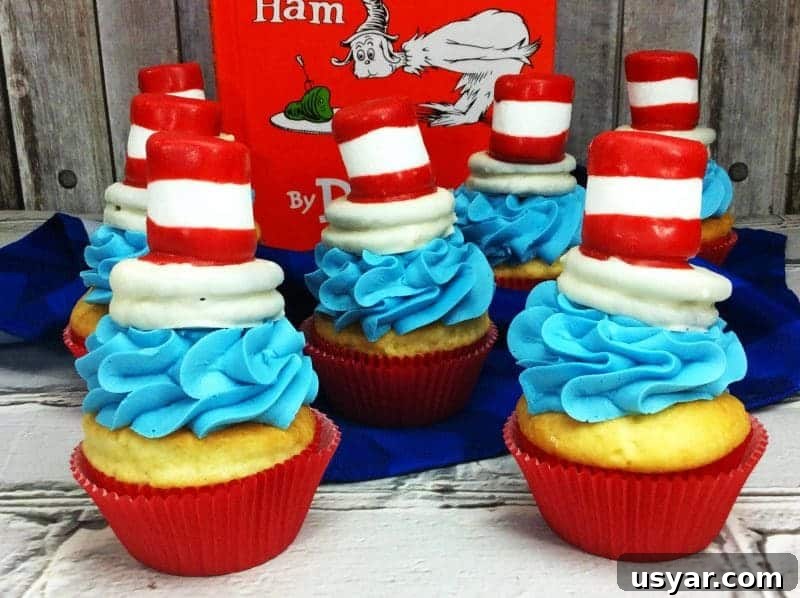
Cat in the Hat cupcakes make a delightful and whimsical addition to any Dr. Seuss Day celebration or a Dr. Seuss–themed birthday party. These playful cupcakes are easy to assemble and impressive to present: the base is simple vanilla cupcakes topped with a swirl of colored frosting, and the charming “Cat in the Hat” topper is built from dipped Oreos and candy-coated marshmallows to form the iconic red-and-white striped hat.
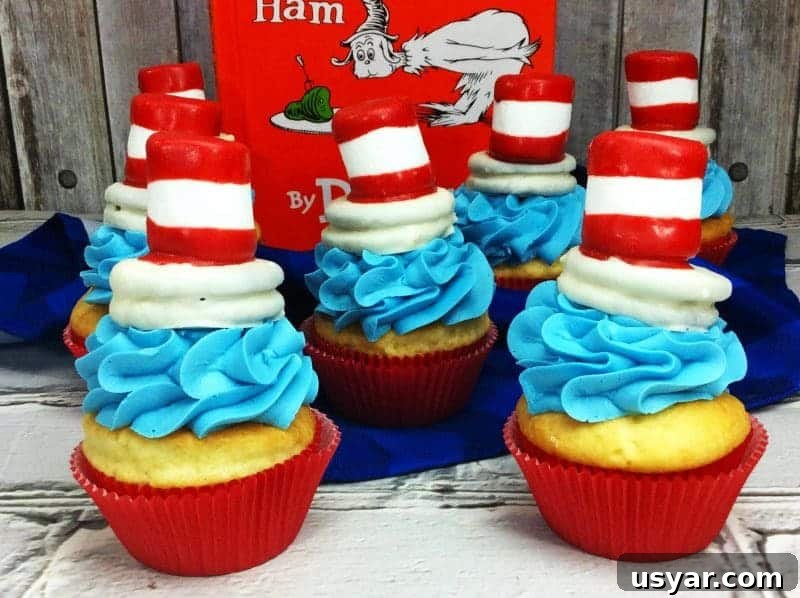
These cupcakes are perfect for hosts who want a fun, themed dessert without spending hours baking from scratch. Using boxed cake mix and premade frosting keeps the process quick and reliable. The most creative part of the recipe is the hat topper, which is assembled from a few simple candy and cookie components. If you prefer to bake and make frosting from scratch, feel free to do so—this recipe adapts easily to homemade components for an even fresher result.
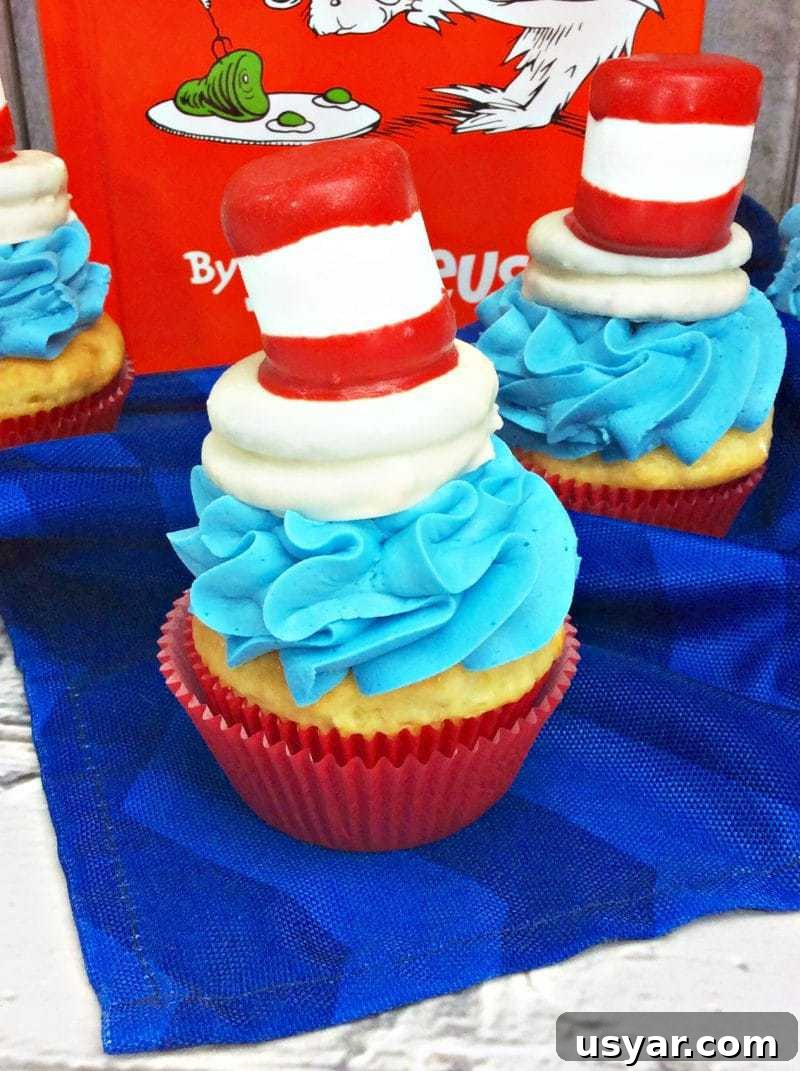
Cat in the Hat Cupcakes
Cat in the Hat Cupcakes
Author: Jaclyn
Cat in the Hat cupcakes are an easy, charming choice for Dr. Seuss Day gatherings and birthday celebrations. The cupcakes are frosted in a sky-blue icing, and each is topped with a playful hat made from a chocolate-dipped Oreo and a marshmallow dipped in red candy coating. The recipe is built to be approachable: boxed cupcakes and premade frosting keep prep simple while the candy toppers add the whimsical finishing touch.
Plan for a little hands-on time to assemble and decorate the toppers. The steps are straightforward—color and pipe the frosting, dip cookies and marshmallows, and assemble the mini hats once the coatings have set. These cupcakes are great for making with kids, class parties, or any event where you want a fun, themed dessert that looks more elaborate than it actually is.
Ingredients
- 24 vanilla cupcakes, prepared according to the directions on the box
- 2 jars premade vanilla frosting
- Sky blue gel food coloring
- 1 bag white chocolate melting wafers
- 24 Double Stuffed Oreos
- 1 bag red candy melts
- 2–3 tablespoons coconut oil (to thin candy melts)
- 1 bag regular-size marshmallows
Instructions
- Add a few drops of sky blue gel food coloring to the premade vanilla frosting. Stir well, then add more coloring a drop at a time until you reach the desired shade of blue. Use a light hand with gel coloring—a little goes a long way.
- Fit a piping bag with a star tip and transfer the tinted frosting into the bag. Pipe a generous swirl of frosting onto each cooled cupcake, making an even base for the topper.
- Melt the white chocolate melting wafers in a double boiler or microwave in short bursts, stirring regularly to prevent burning. Keep the melted chocolate smooth and warm while you work.
- Dip each Oreo into the melted white chocolate so it is fully coated. Lift the cookie with a fork, tap gently to remove excess chocolate, and place it on a baking sheet lined with parchment paper. Repeat until all Oreos are dipped. Allow them to set and harden completely.
- Melt the red candy melts in a double boiler or microwave. Once smooth, stir in 2 to 3 tablespoons of coconut oil to thin the coating slightly; this makes the candy melts easier to dip with and gives a smoother finish.
- Dip about one-quarter of the top of each marshmallow into the red candy melts. Shake off excess coating and set the marshmallows on a parchment-lined baking sheet to harden.
- After the red coating has set on the marshmallows, carefully dip the opposite edge (about one-quarter of the marshmallow) into the red candy melts as well. This creates a band of red at both top and bottom edges that will mimic the stripes of the Cat’s hat when assembled.
- Press the just-dipped, red-coated end of each marshmallow onto the center of a hardened, chocolate-covered Oreo. This builds the classic hat shape: Oreo as the brim and marshmallow as the tall hat top. Allow the assembled hats to set completely so the marshmallow is secured to the cookie.
- When the hats have fully hardened, position one hat on top of the frosting swirl on each cupcake. Press gently so the hat sits securely in the frosting without crushing the piped design.
- Arrange the finished cupcakes on a platter and serve at room temperature. Store any leftovers in an airtight container to maintain freshness; keep refrigerated if your frosting or fillings require it, but bring to room temperature before serving for best texture and flavor.
Tips and Variations
If you prefer a homemade approach, bake your cupcakes from scratch and make a buttercream frosting instead of using premade varieties. For a sturdier hat, use mini marshmallows stacked or shaped with a little melted candy to secure them. You can also change the frosting color or add sprinkles around the base for extra flair. These cupcakes are easily adapted to allergy-friendly ingredients—use dairy-free chocolate wafers, frosting, and candy melts as needed.
This project is excellent for involving children: they can help dip cookies and marshmallows, color the frosting, and assemble the hats under supervision. With minimal baking effort and a little creativity, these Cat in the Hat cupcakes become an eye-catching, delicious centerpiece for any Dr. Seuss celebration.

Did You Make This Recipe?
Share your version of these cupcakes on social media and tag the person who inspired the idea. It’s always fun to see how others personalize the design—whether with different frosting colors, alternate candy choices, or creative displays for a classroom party or family celebration.